Nginx以及ngx_postgres安装以及配置
最近在做一个项目,需要讲Android App和服务器上的PostgreSQL进行连接,但是Android Studio不能够直接通过JDBC进行连接,所以选择通过Nginx作为中间服务器对PostgreSQL进行操作。以下简单记录一下安装nginx和配置ngx_postgres的过程
首先,由于我们在手动安装的过程中需要对nginx的源码进行编译,所以首先系统中必须具有C/C++的编译器,如果没有,手动安装一下
1 | sudo apt-get install gcc # 安装C语言编译器gcc |
接下来依次安装我们需要的包,这里我全部安装到~/packages路径下。对于压缩包使用wget address命令下载,使用tar -zxvf filename.tar.gz进行解压;对于github上的仓库,使用git clone github_address克隆到本地。
nginx http://nginx.org/download/nginx-1.20.1.tar.gz
在官网http://nginx.org/download/找到对应的压缩包,然后下载解压
ngx_postgres https://github.com/FRiCKLE/ngx_postgres.git
ngx_postgres还需要下载安装libpq,否则就会在编译的时候出现错误
1
./configure: error: ngx_postgres addon was unable to find the libpq library.
使用
sudo apt-get install libpq-dev进行安装ngx_devel_kit https://github.com/vision5/ngx_devel_kit.git
rds-json-nginx-module https://github.com/openresty/rds-json-nginx-module.git
form-input-nginx-module https://github.com/nginx-modules/form-input-nginx-module.git
还有几个nginx本身需要依赖的包,即使不使用ngx_postgres也是需要下载安装的
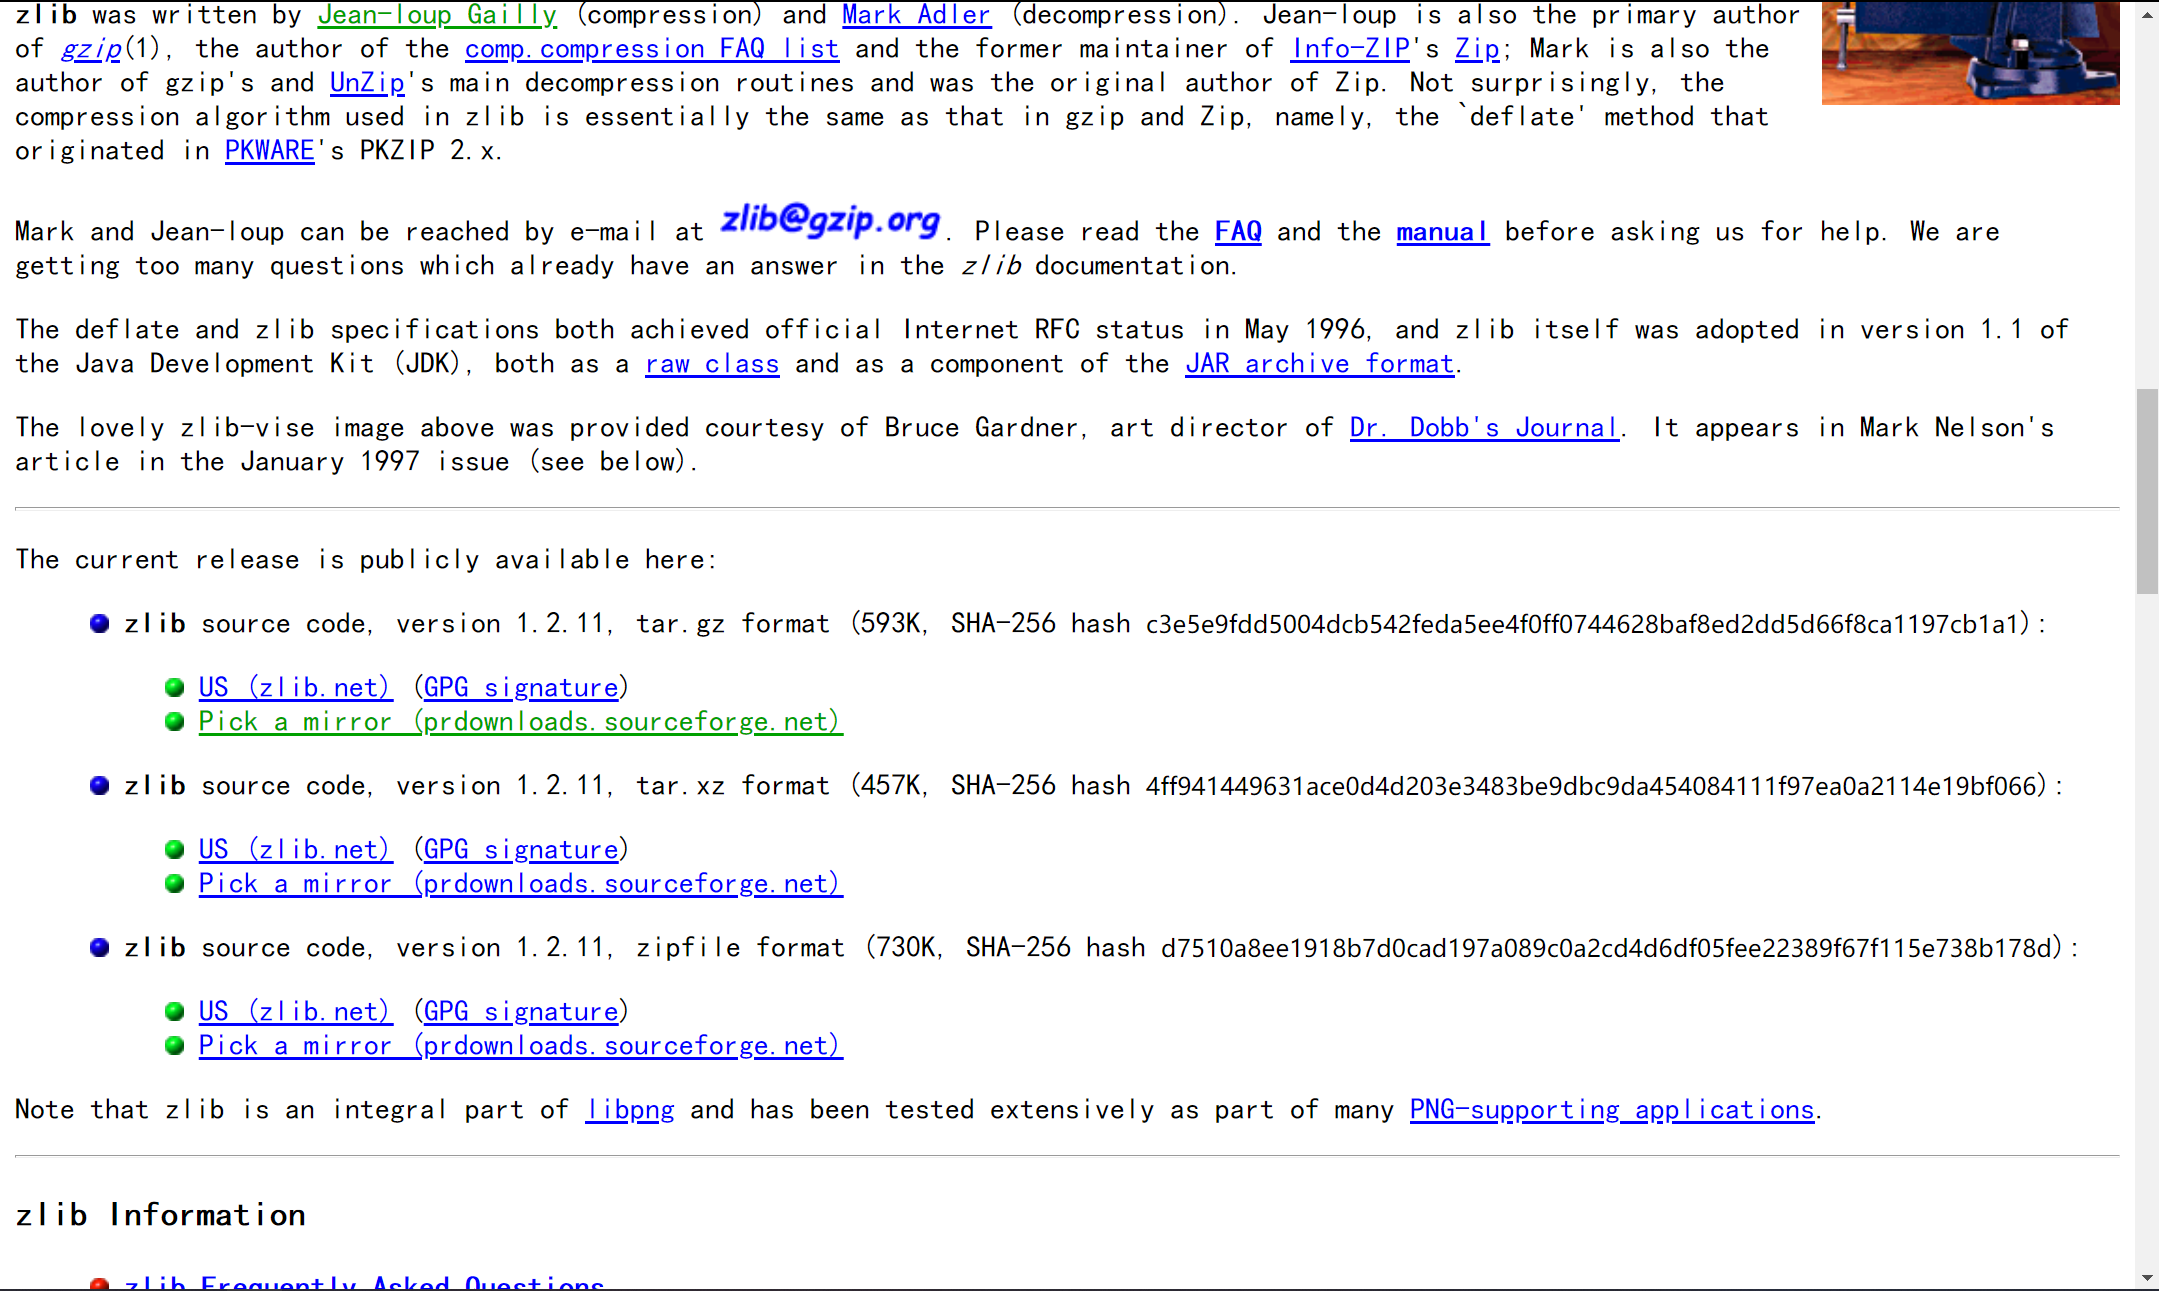
pcre: https://jaist.dl.sourceforge.net/project/pcre/pcre/8.45/pcre-8.45.tar.gz
在这个网站可以找到对应的压缩包 http://sourceforge.net/projects/pcre/files/pcre/
zlib: https://jaist.dl.sourceforge.net/project/libpng/zlib/1.2.11/zlib-1.2.11.tar.gz
官网 https://www.zlib.net/

openssl Github 地址: https://github.com/openssl/openssl.git
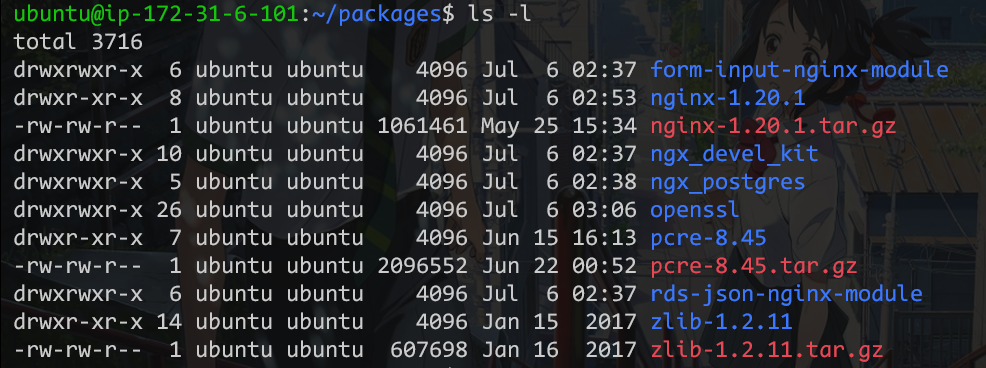
全部下载完成之后应该有以下文件夹

然后进入nginx-1.20.1目录下,这个目录下有一个configure可执行文件,在命令行中输入以下命令
1 | ./configure --prefix=/opt/nginx \\ |
--prefix=/opt/nginx代表我把nginx安装在这个目录下,下面几行是所添加的module和包,填上自己的文件路径就可以了。然后运行命令make,如果没有下载make的话使用apt-get
安装以下就好了。执行了make之后,出现了以下错误:
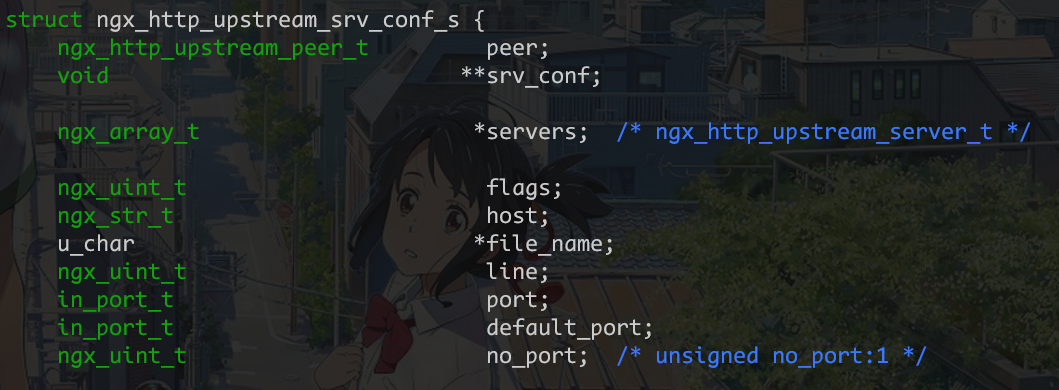
1 | /home/ubuntu/packages/ngx_postgres/src/ngx_postgres_module.c:1323:21: error: ‘ngx_http_upstream_srv_conf_t’ {aka ‘struct ngx_http_upstream_srv_conf_s’} has no member named ‘default_port’ |
到nginx的src/http/ngx_http_upstream.h文件找到ngx_http_upstream_srv_conf_s结构添加in_port_t default_port;

然后执行命令make,没有问题之后执行make install就可以成功安装了。
安装成功,我们就可以在我们的安装路径下/opt/nginx找到对应的安装目录,nginx可执行文件就是/opt/nginx/sbin/nginx这个路径。
使用以下命令启动nginx服务
1 | sudo /opt/nginx/sbin/nginx -c /opt/nginx/conf/nginx.conf |
最后我们可以创建软链接,这样就可以不用自己手动配置了,只需要输入sudo nginx就可以启动了
1 | sudo ln -s /opt/nginx/sbin/nginx /usr/bin/nginx |
使用sudo nginx开始
nginx,nginx -s stop停止nginx。打开nginx之后,就可以在我们的服务器域名下看到如下的页面

参考资料
[1] 知乎,nginx安装及其配置详细教程,https://zhuanlan.zhihu.com/p/83890573
[2] CSDN,ubuntu 手动安装nginx,https://blog.csdn.net/xiaoyou625/article/details/112006193
[3] HostAdvice, How to Install PostgreSQL on an Ubuntu VPS Running Nginx, https://hostadvice.com/how-to/how-to-install-postgresql-on-nginx-web-servers/